Well we’ve been busy bees again
working on the house and DIYing for the wedding. Remember when I blogged about DIY details here, well the tiered cupcake stand is
done!
working on the house and DIYing for the wedding. Remember when I blogged about DIY details here, well the tiered cupcake stand is
done!
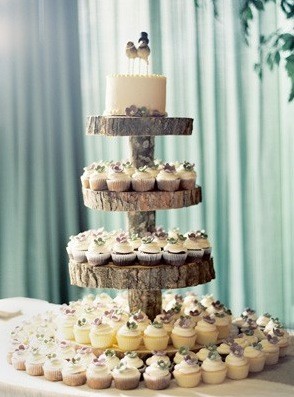
The vision:
 |
| {via} |
Here’s how it all went down…
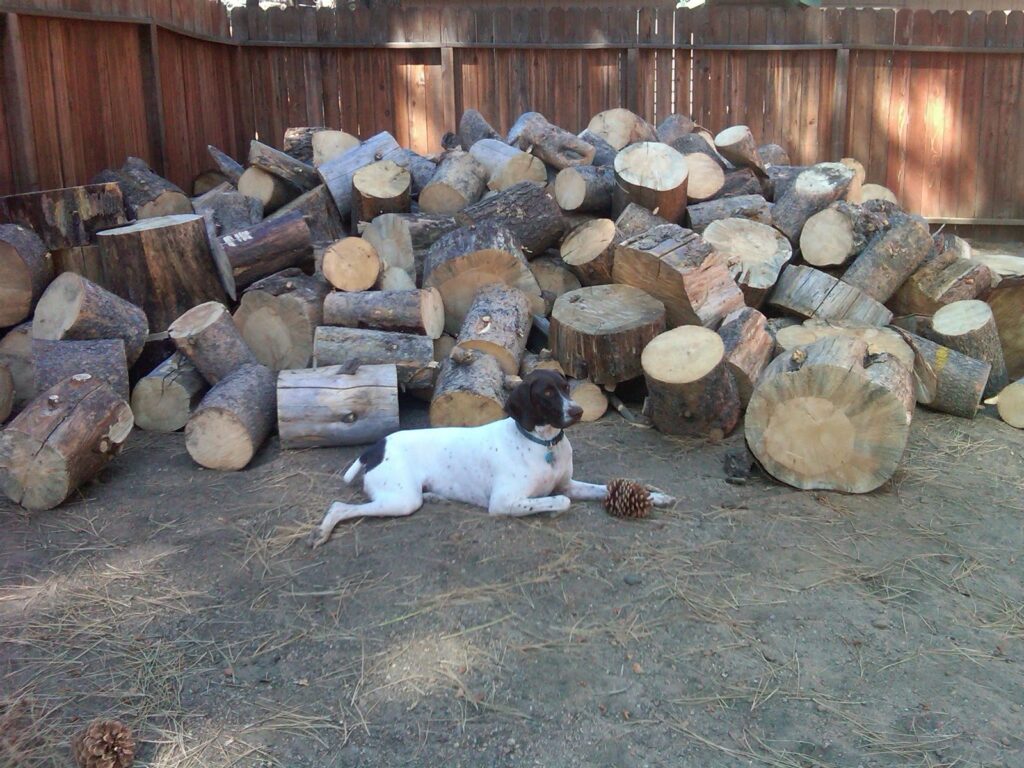
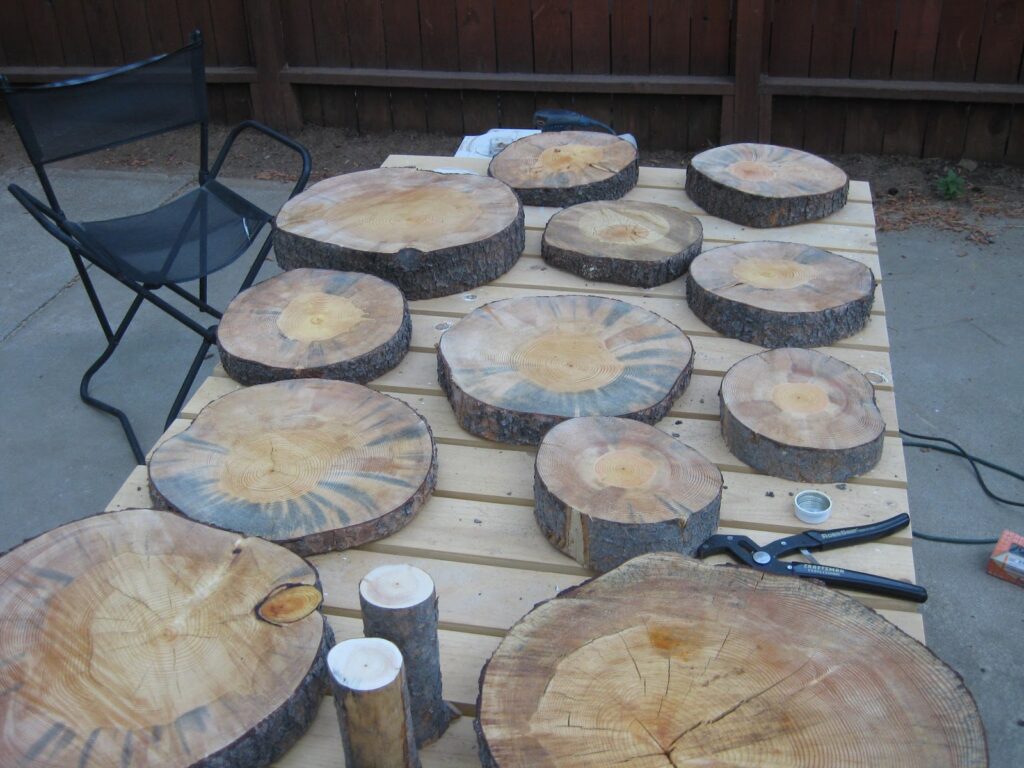
Those who know us well know we have a
plethora of wood rounds drying in our backyard at all times. With that said, we
headed out to the yard and picked out what we thought were the best looking
rounds.
plethora of wood rounds drying in our backyard at all times. With that said, we
headed out to the yard and picked out what we thought were the best looking
rounds.
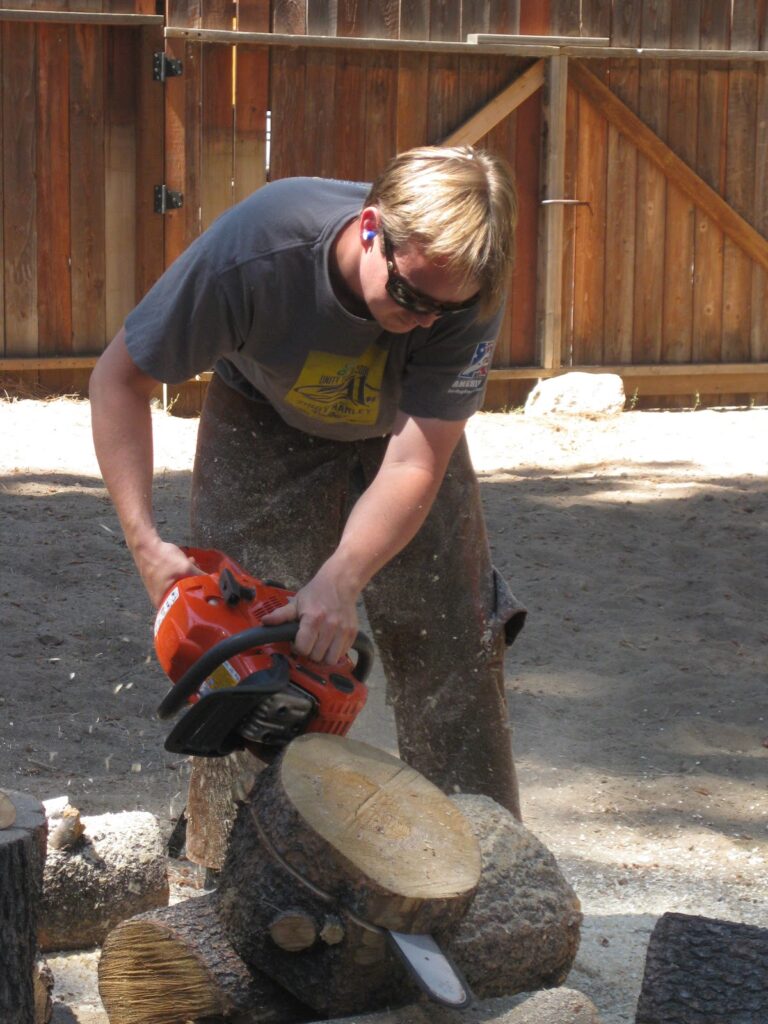
Nick
then went to town cutting the rounds into smaller 1″ to 3″ thick rounds
with his trusty chainsaw.
then went to town cutting the rounds into smaller 1″ to 3″ thick rounds
with his trusty chainsaw.
(Tip:
Safety first make sure you have the correct protective gear on —
eye-ware, ear plugs, chaps and footwear)
Safety first make sure you have the correct protective gear on —
eye-ware, ear plugs, chaps and footwear)
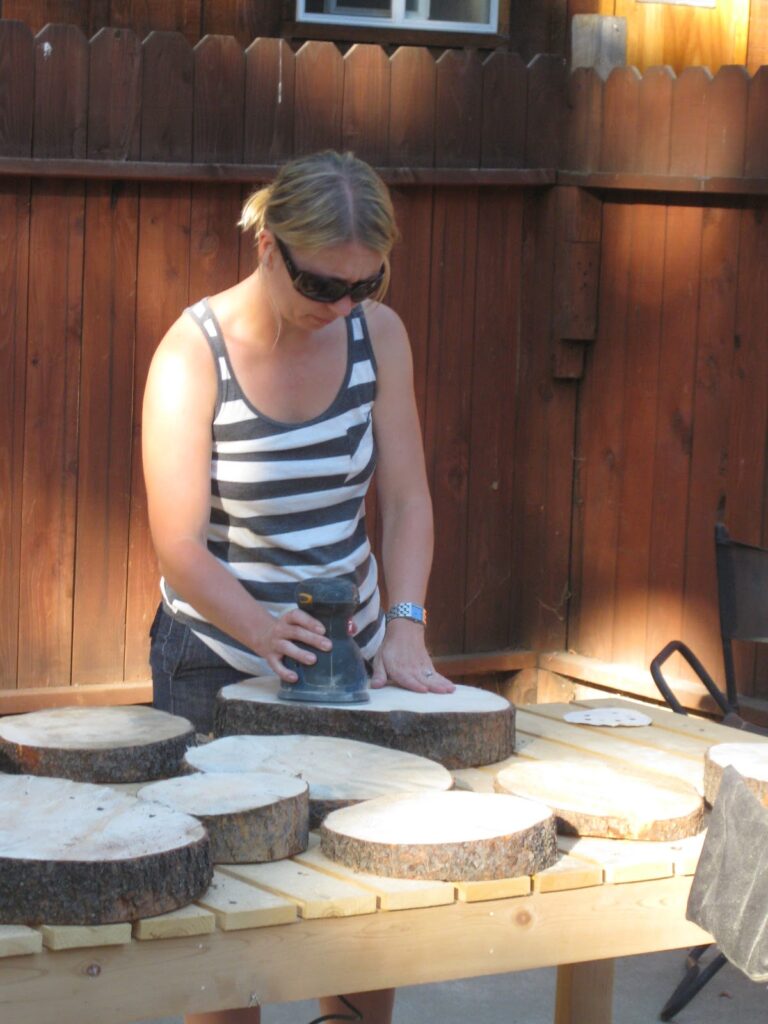
Once Nick
cut about 10 -13 new rounds I gave them a light sanding, but left them looking
natural.
cut about 10 -13 new rounds I gave them a light sanding, but left them looking
natural.
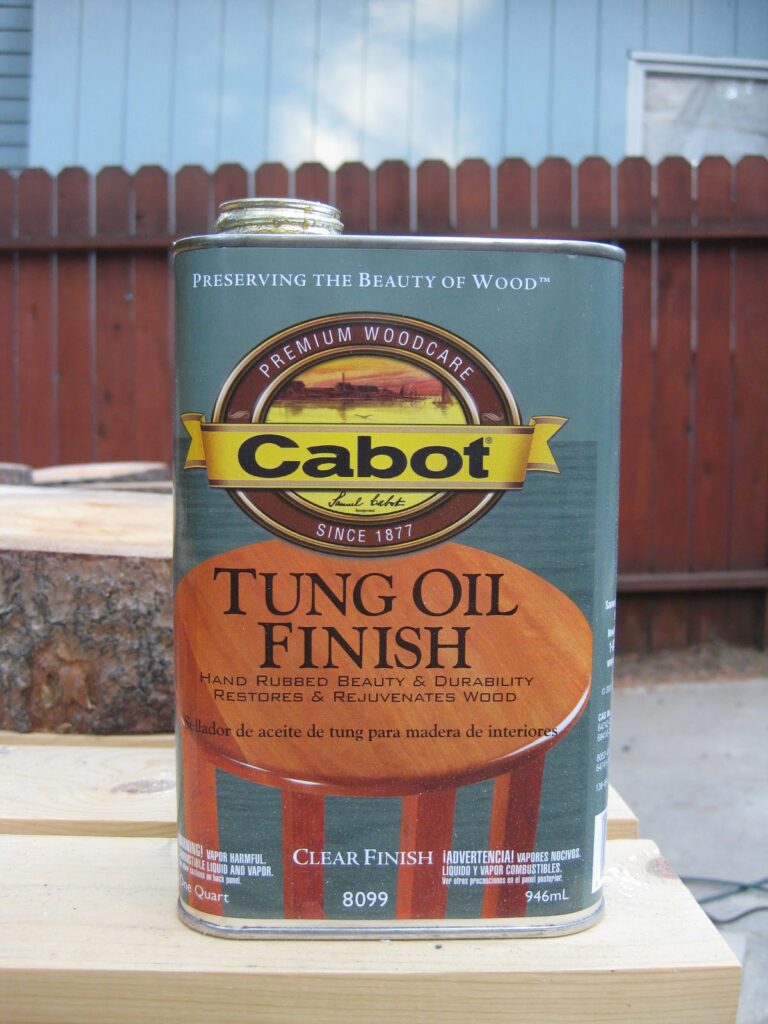
Since we didn’t want a lacquer finish
we only applied one light coat of tung oil.
we only applied one light coat of tung oil.
Here’s what they looked like after
one coat. (not completely dry)
one coat. (not completely dry)
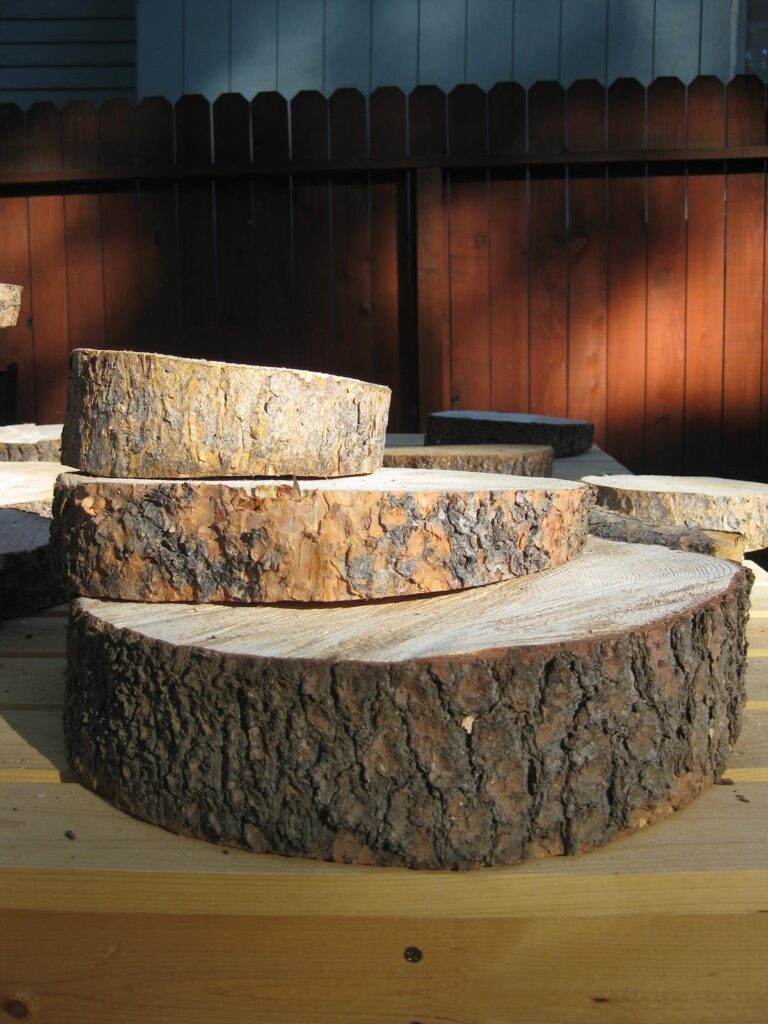
Next we picked 3 different size
rounds to create a tiered look.
rounds to create a tiered look.
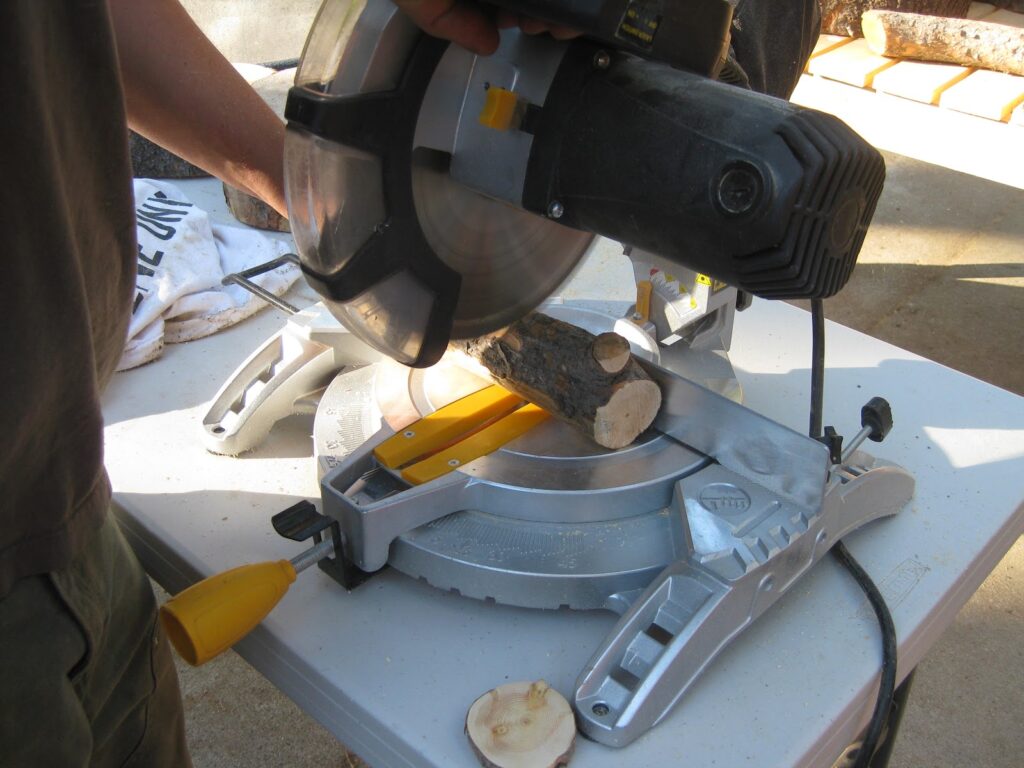
Using an aspen branch and chop-saw
Nick made some “legs” for height.
Nick made some “legs” for height.
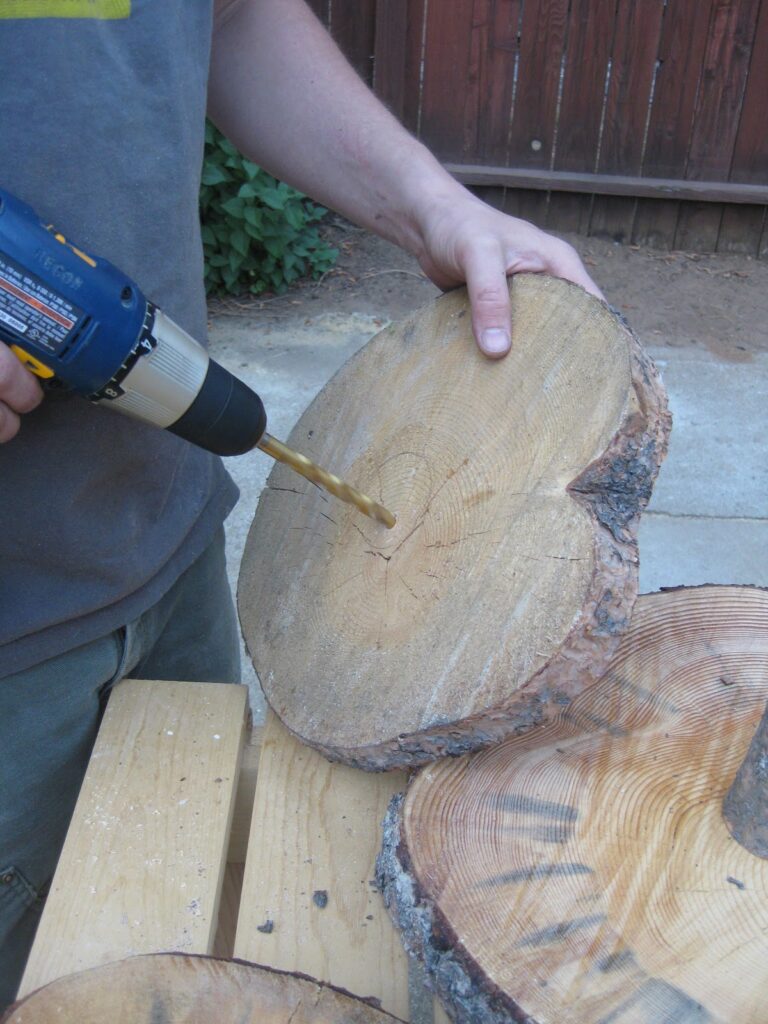
Once the legs were cut we placed them between the rounds, made some marks and started drilling pilot holes for screws.
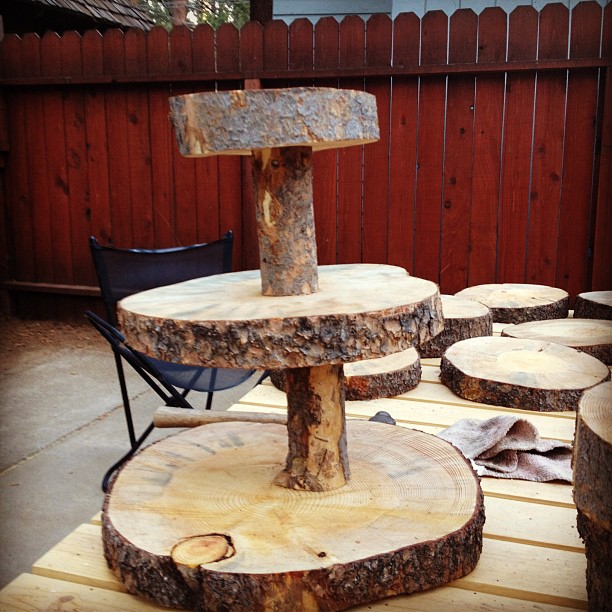
After about 3-4 hours (including dry
time) our rustic DYI cupcake stand looked a little like this! Since we already had
everything it cost us $0 and little hard work and determination.
time) our rustic DYI cupcake stand looked a little like this! Since we already had
everything it cost us $0 and little hard work and determination.
We can’t wait to see what it looks
like covered with cupcakes in only 18 days! I can’t believe it. The plan is to use the remaining rounds as centerpiece stands. Did you DYI
anything for your big day?
like covered with cupcakes in only 18 days! I can’t believe it. The plan is to use the remaining rounds as centerpiece stands. Did you DYI
anything for your big day?
xo – Tiara
Linked to: Something Charming

Love these! The stand is going to look great with cupcakes on them. I can't wait to see the centerpiece stands used!
Thanks! We can't wait either. We decided to go with mini bite size cupcakes making each tier a different flavor. Oh and there will be cake truffles too!