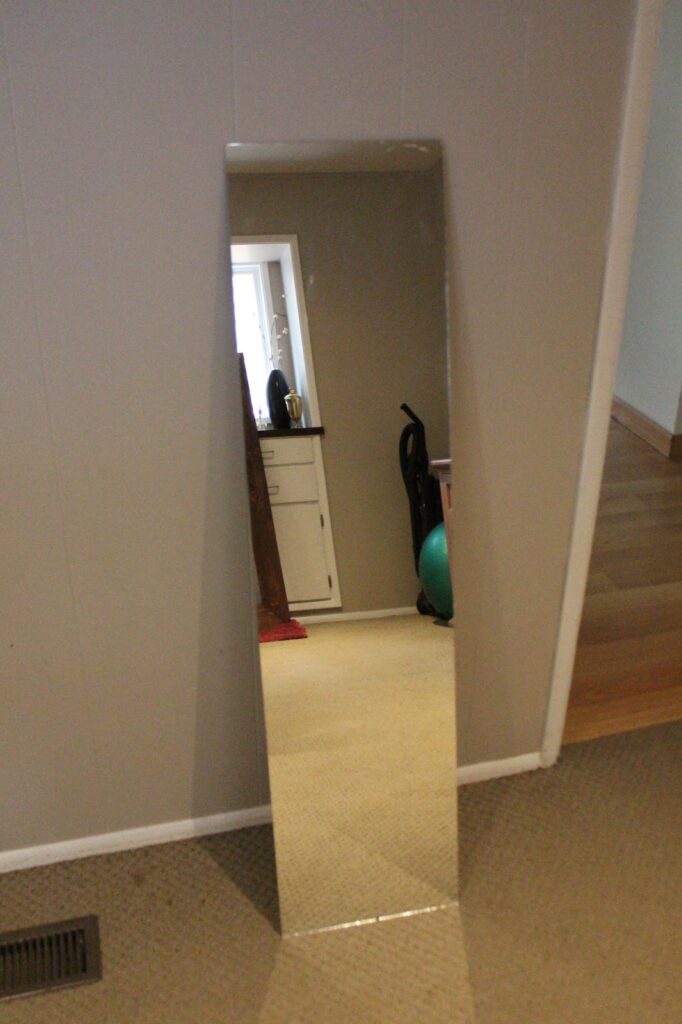
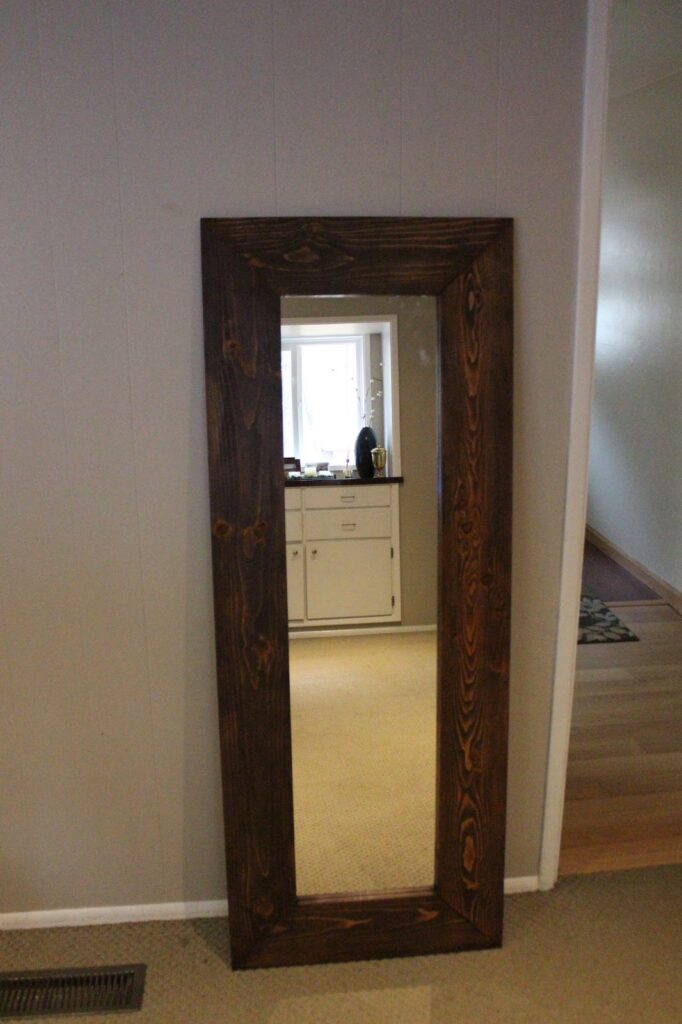
We’ve had this full length mirror without a frame for a while. After living behind our bedroom door propped up against the wall we finally decided what to do — build an awesome frame for it.
Materials:
3 — 6ft 1×6 or 1×4 (we used Douglas Fir)
8 — 1 3/4″ wood screws
Liquid Nails
Stain
Polyurethane (we used tongue oil)
Iron Man Durham’s/ Wood Putty
2-3 foam applicators
Kreg-jig
Step 1:
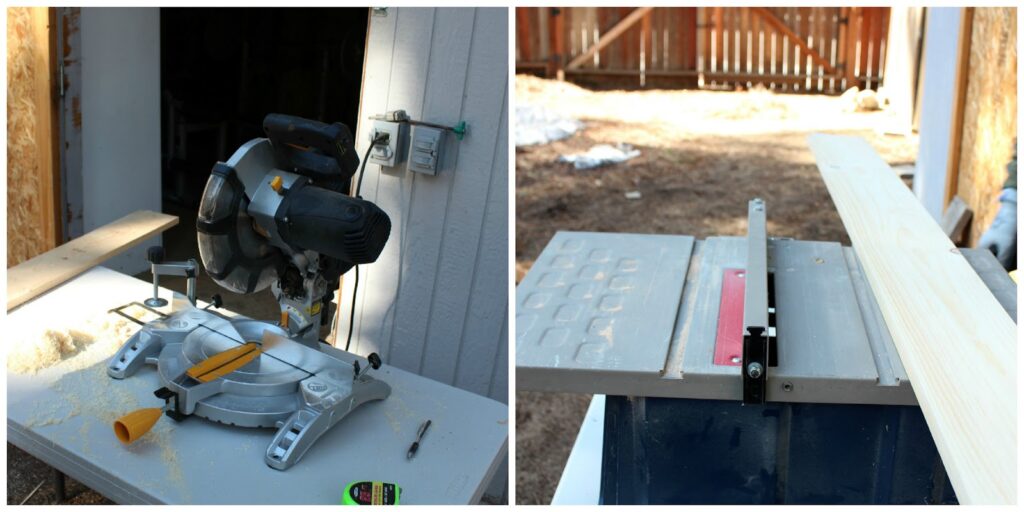
Measure the mirror, mark your cuts and cut four pieces with 45 degree angles at each end to build the frame. We used the chop saw.
Step 2:
Next we cut a groove to set the mirror in once the frame was complete. After checking the mirror’s thickness we used the table saw to make the cuts. The blade was raised 1/4 inch above the table and the fence was set 5/8 inch away from the blade.
Step 3:
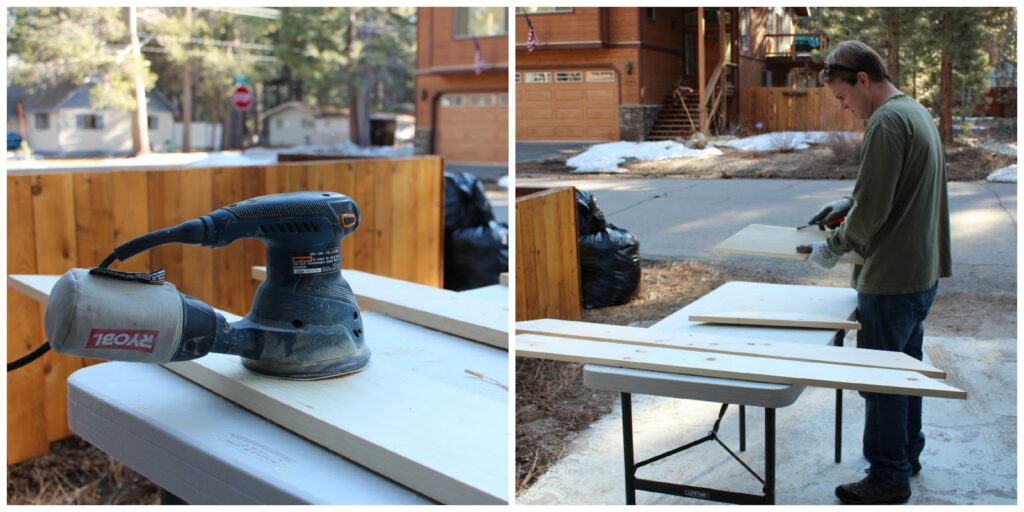
Before assembling the frame we decided to sand each piece of wood. Using our go to sander, the orbital, we started with 120-grit and finished with 220-grit.
Step 4:
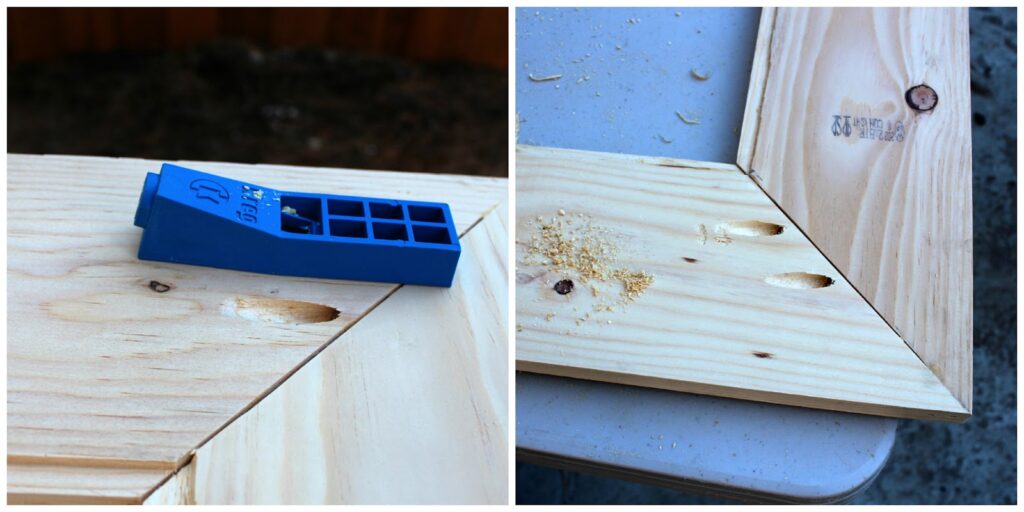
Connect the boards — We used a Kreg Jig to drill the pocket holes to put the frame together. Once the boards were clamped and the jig was in place, the holes were drilled and the boards were then screwed together.
Step 5:
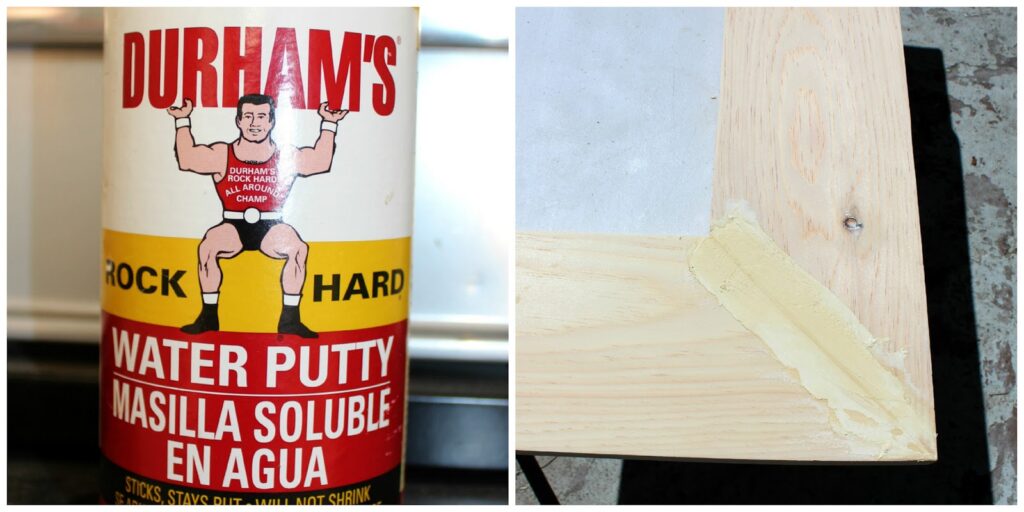
After assembling, we flipped the frame over filled in any gaps with wood filler and let dry. Once the filler was dry we sanded the frame to remove any excess wood filler/putty.
Step 6:
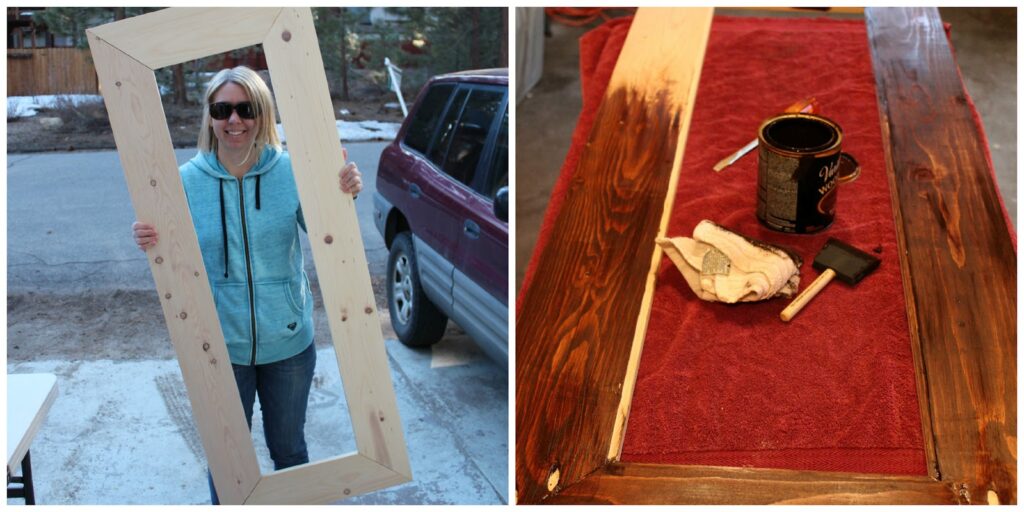
You’re in the home stretch! It’s time to start staining. First we used a tact cloth to remove any excess dust from sanding. If you’re not sure about your stain color don’t forget to test the stain on a scrap piece of wood.
For even coverage, using foam brushes, we applied the dark walnut stain with the grain. After applying each coat, let the stain set for 5-15 minutes before wiping away the excess with a dust free cloth.
Since we liked the color after one coat we let it set for about six hours before applying a coat of polyurethane.
Step 7:
After for 24 hours and once the frame was dry we attached the mirror to the inside of the little ledge using liquid nails (for glass).
Ta-da! It’s our very own version of ikea’s MONGSTAD mirror. Well on a smaller scale.

looks great!
Thanks Girl!
This is beautiful! Great job!
Thanks Tori! It's a nice touch in our room now.
Looks fantastic! Y'all are so handy. 🙂
Thanks! What until you see the planters we built 🙂
Hey there! Here from the Blog Hop! I just wanted to let you know I'm following you via Bloglovin' :o) I hope you'll get a chance to check me out:
Bloglovin'
http://www.bloglovin.com/blog/3718883
– croppedstories@gmail.com
Thanks for stopping by!