Tuesday we revealed a few fireplace changes including: painted brick, wood-burning stove and a new mantel! I’m back today with more details about the mantel. As I mentioned previously, we scored the weathered lumber from our neighbors yard. It was already the size we needed so no cuts were made on the ends.
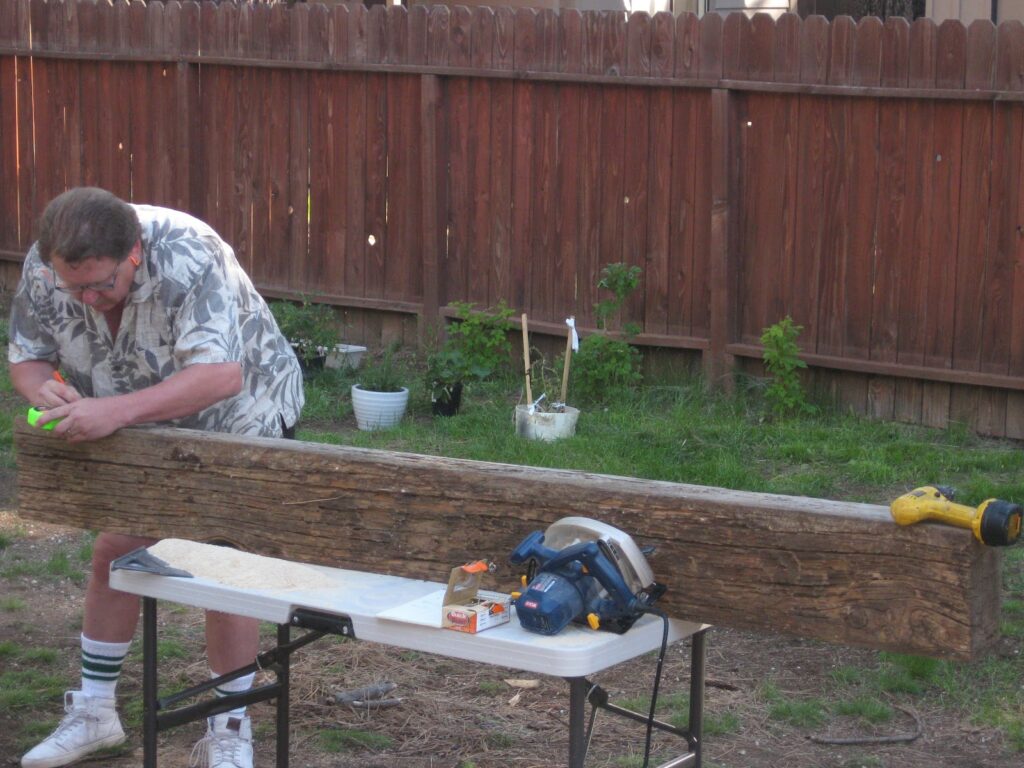
First, we measured the length of the fireplace and cut a scrap piece of wood the same length. Then we centered the wood on our soon-to-be-mantel as a guide for our cuts. Using the circular saw we made various notch cuts the entire length of our wood guide.
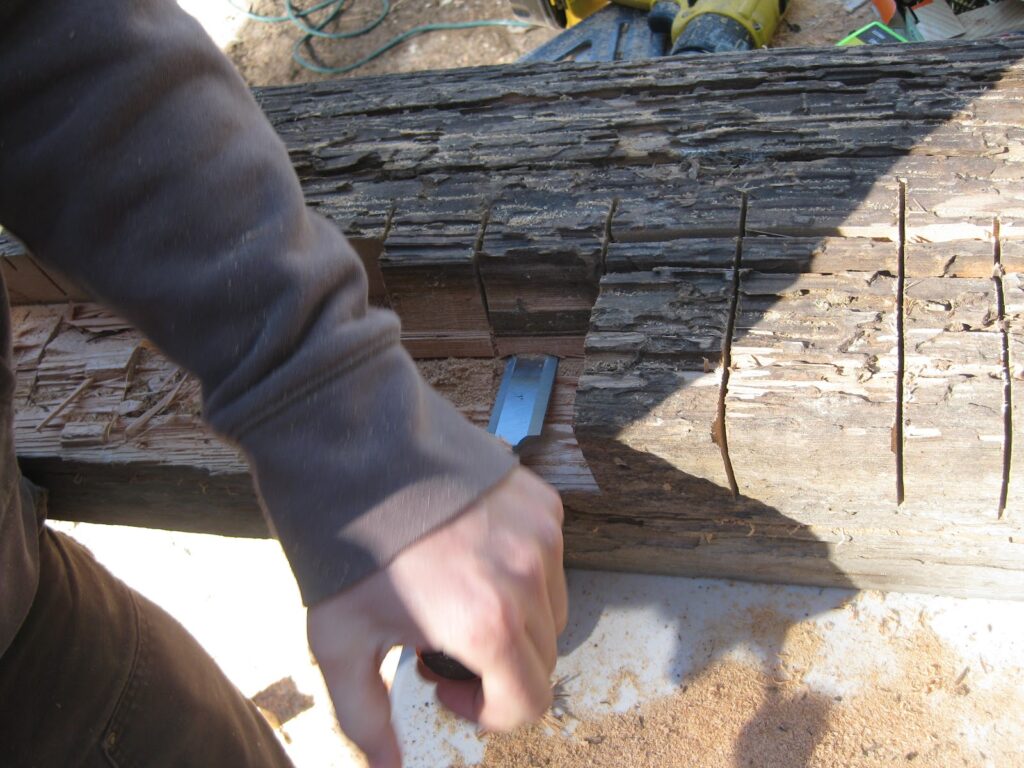
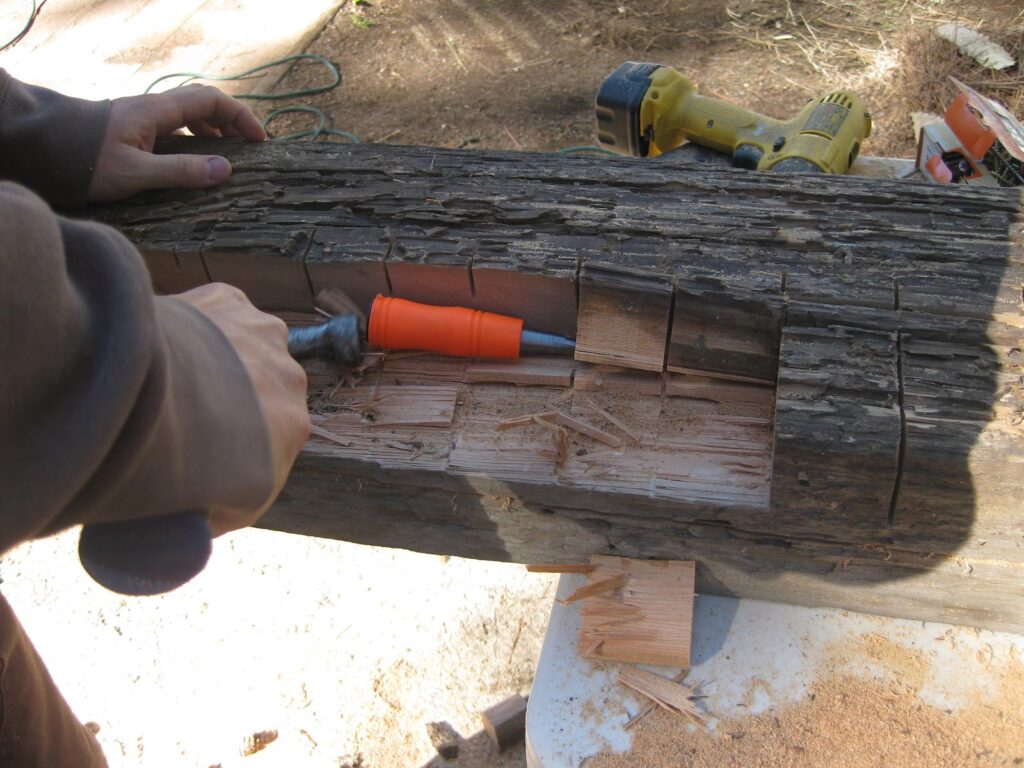
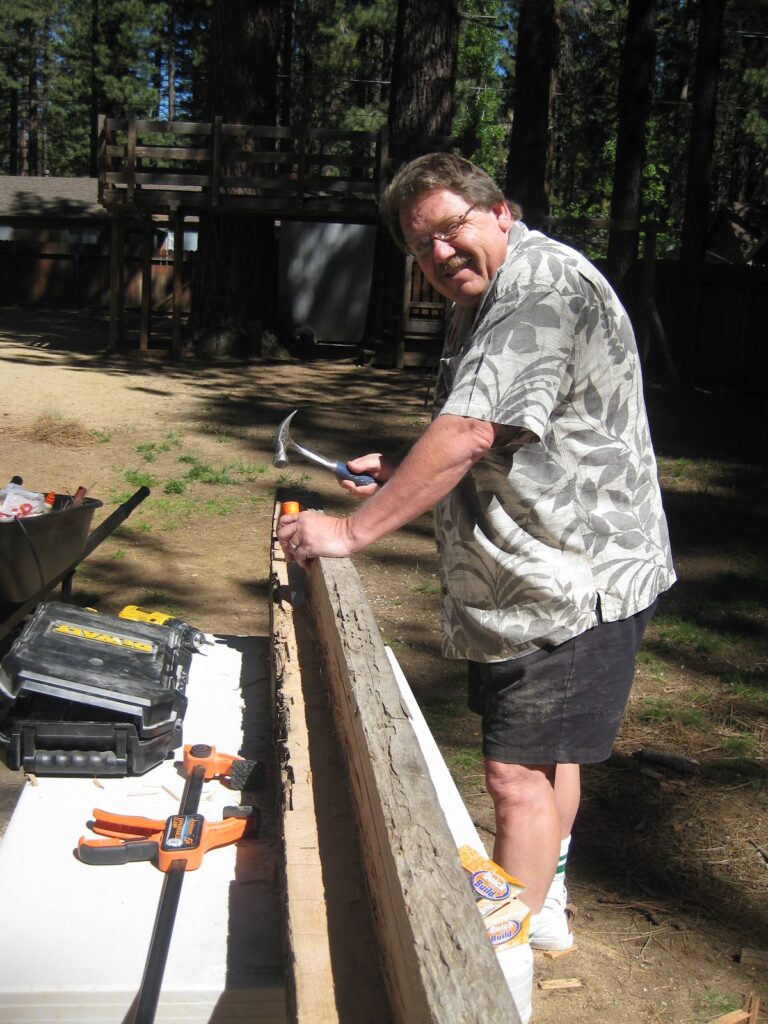
Once the cuts were made the wood was then chiseled out.
Light taps with a hammer helped the process.
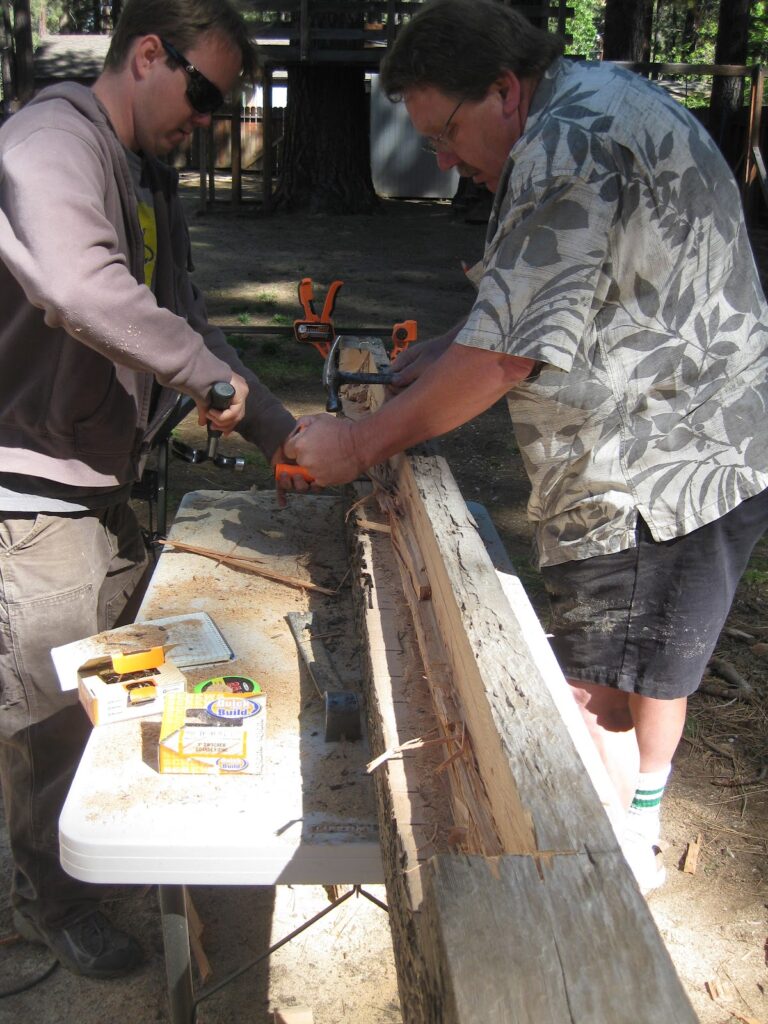
Team work at it’s best.
After the desired notch was cut our weathered lumber was looking more and more like a mantel.
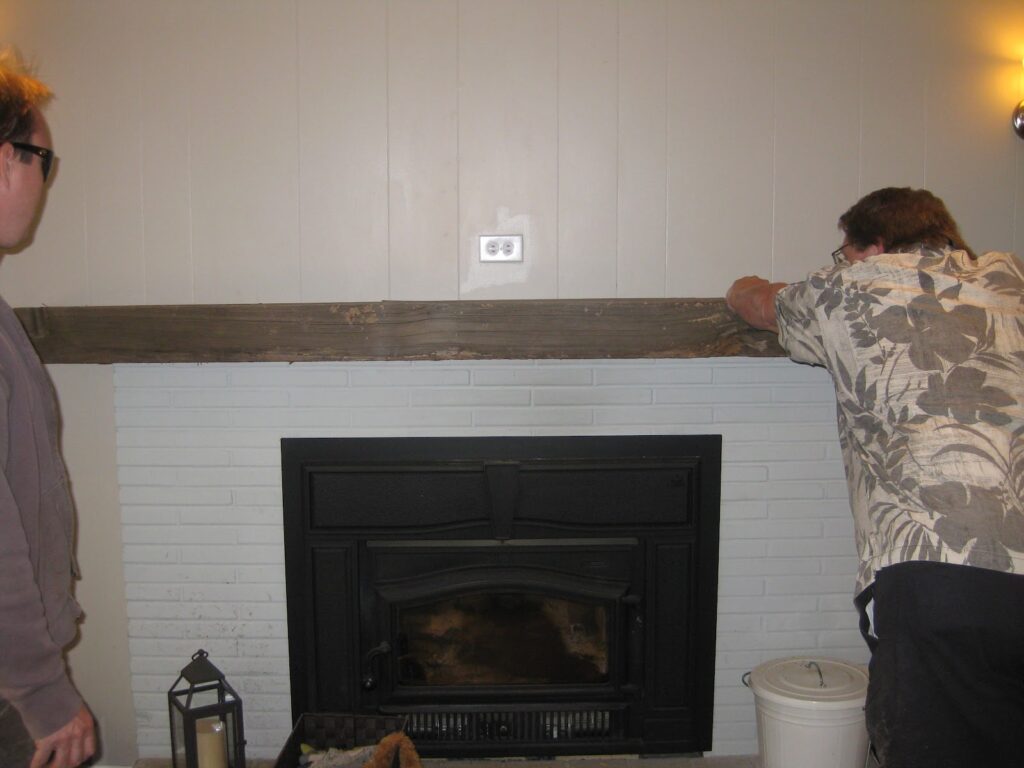
Nearly two hours later it was ready to be installed. First all studs were market on the wall (with pencil for easy clean up). Then the mantel was set on the fireplace. Pliot holes were then drilled, at an angle, from the top of the mantel into the studs, in the wall. Lastly we screwed the mantel into place.
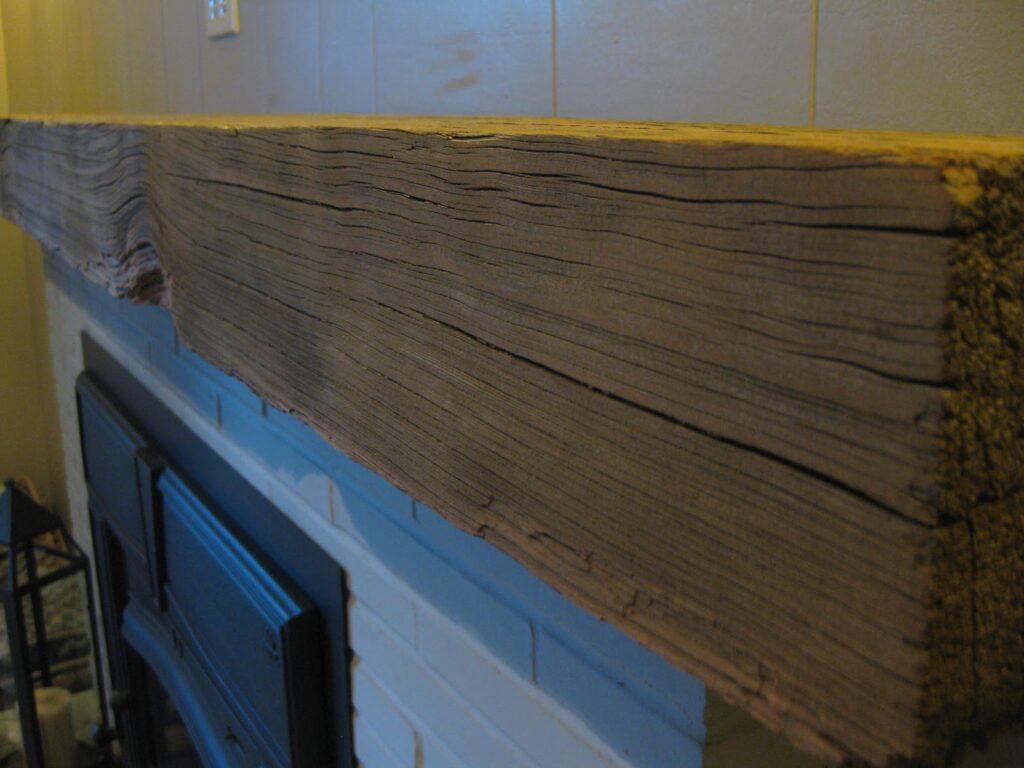
Close up of the wood. It’s greyed from years of sun and snow.
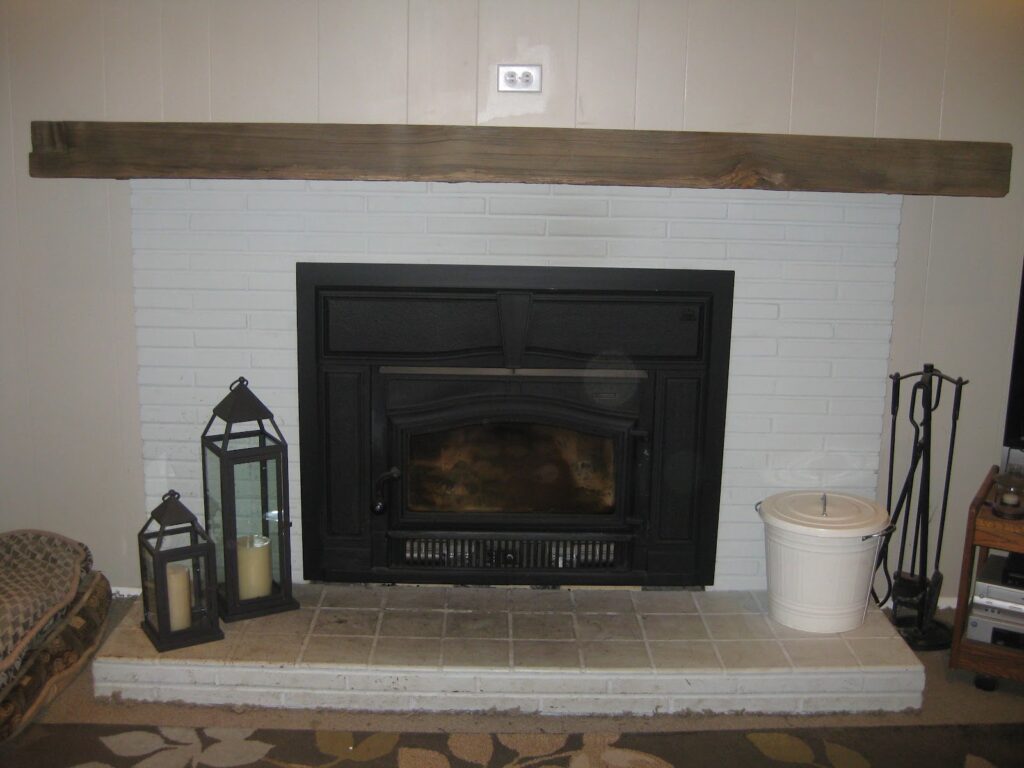
Another after picture.
The surround and hearth are on the the list, but last night we applied our first coat of tough oil. The oil darken it up a bit, but it’s looking good.
What house projects are you working on?
xo, Tiara
Linked to: DIY Showoff
It's quite impressive.
Thanks!